Uploading recordings to Camino
Locate the Zoom recording files
It is recommended at this time that you record your Zoom sessions to the cloud so that your recordings are automatically backed up in Panopto/Class Recordings.
Accessing files recorded on the local computer
By default, your recordings will be available under Documents\Zoom folder.
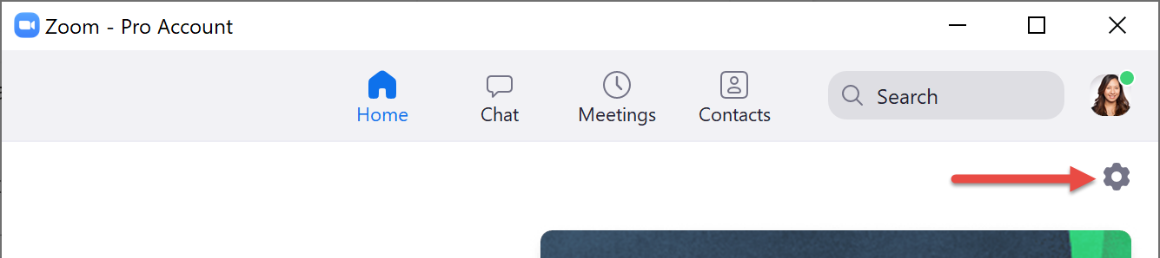
You can log into Zoom desktop client > Settings > Recording tab to locate your recordings.
Once you open the folder you will find your recordings sorted by recording date/time. Open the desired folder and locate the .mp4 file for uploading.
Convert a Local Recording
If you cannot open your local Zoom recording from the Zoom folder on your computer, follow these steps to convert your recording.
Open the Zoom desktop application and sign in.
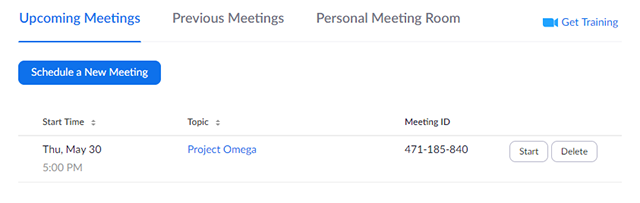
Go to your Meetings tab
Click "Recordings"
Select the recording you want to access.
Click "Convert"
The video will convert.
When it is done, the "Convert" button will be replaced by the following options:

Accessing files recorded in the cloud
Your recordings will be available in the Zoom web portal under Recordings
Visit scu.zoom.us/recording
Select desired recording session, click More button > Download files.
Log in and Open the Class Recordings tab
Log in to Camino Learning Management System (http://scu.edu/login > select the Camino icon )

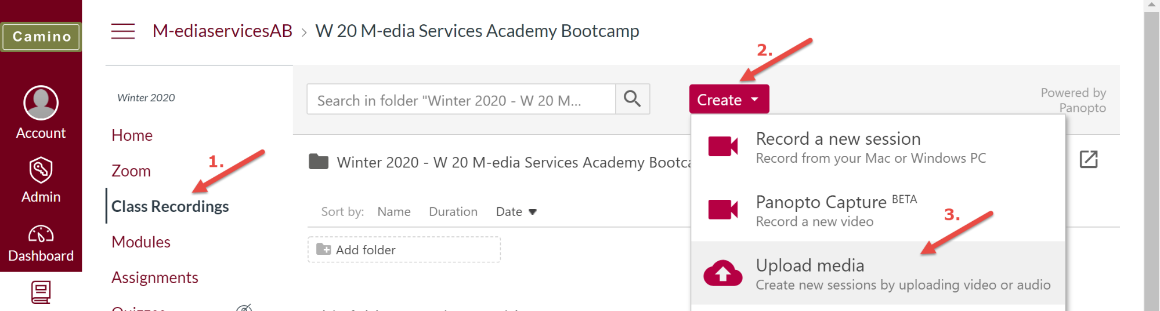
You should now see the Class Recordings tab showing up in the left menu section. Click on the tab to open the Class Recordings folder.
Click Create button > select Upload media.
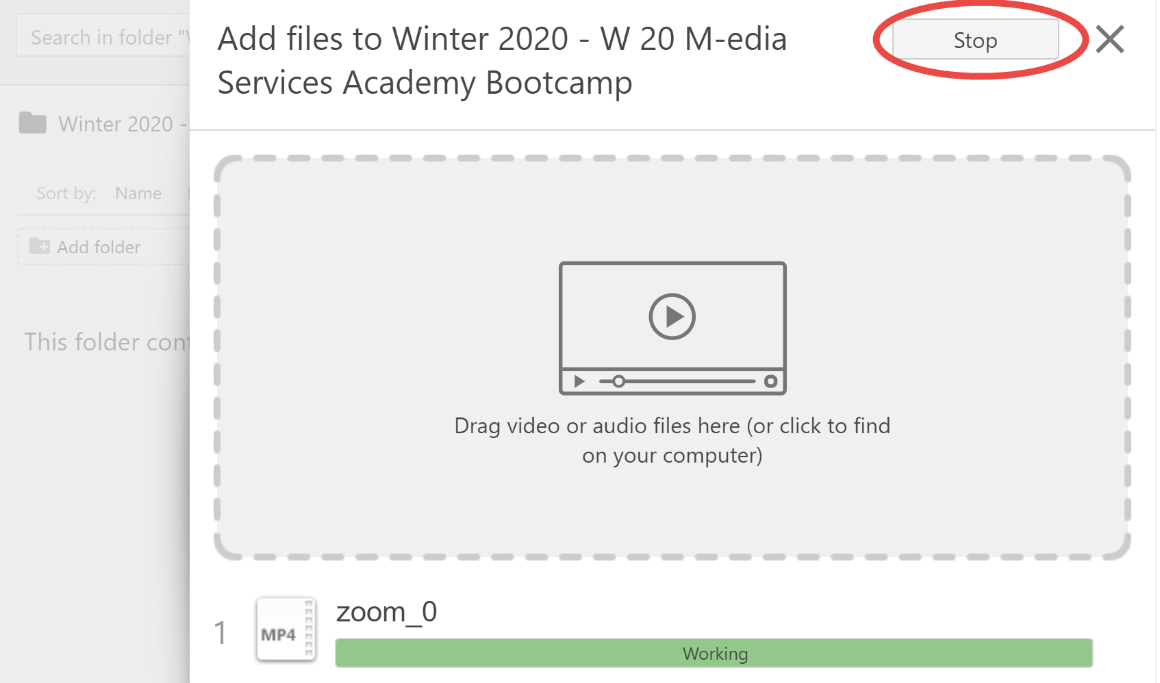
Click on the grey upload box > select the desired file to upload.
Please leave the window open while the file is being uploaded. Closing the window will stop the file upload process. A Stop button is shown during the upload. You are free to close the window once the Stop button disappears.
Please Note: It can take between 5 minutes to 1 hour for the video upload to complete, this is dependent on the length of the video and your internet speed.
In addition, it can take 10 minutes - 2 hours for the server to process the video so it is viewable. This is dependent on the length of the video.
Rename the uploaded file
Once the file is done uploading, you will see the file appear in the folder.
Click on Settings button to change file name. Click Edit next to the file name. Click Save when done.
You can also perform a few other basic operations.
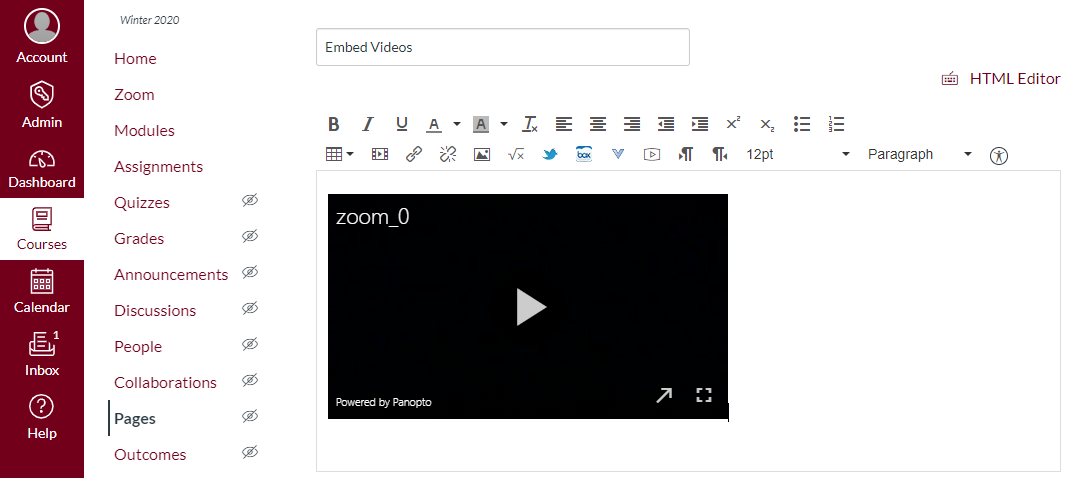
Embed your Class Recordings to Camino Pages
Open the Camino page you would like to embed the videos to.
Click Edit button located on the top right corner.
Click ![]() (More External Tools) icon, then click the Class Recordings option.
(More External Tools) icon, then click the Class Recordings option.
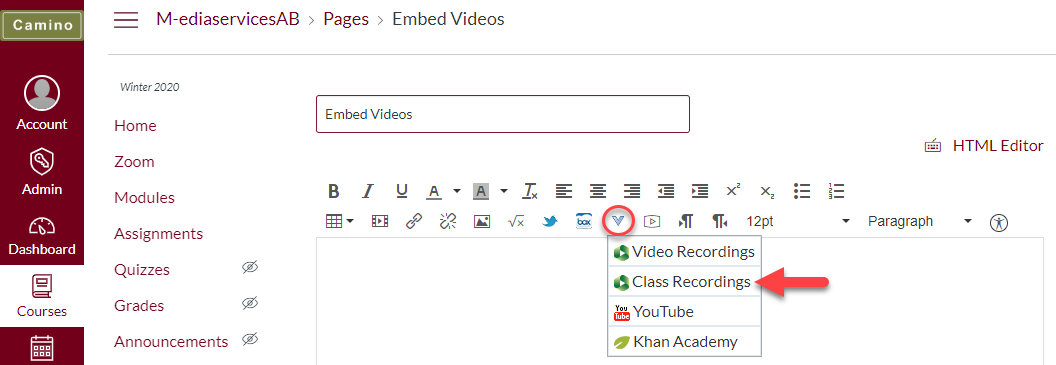
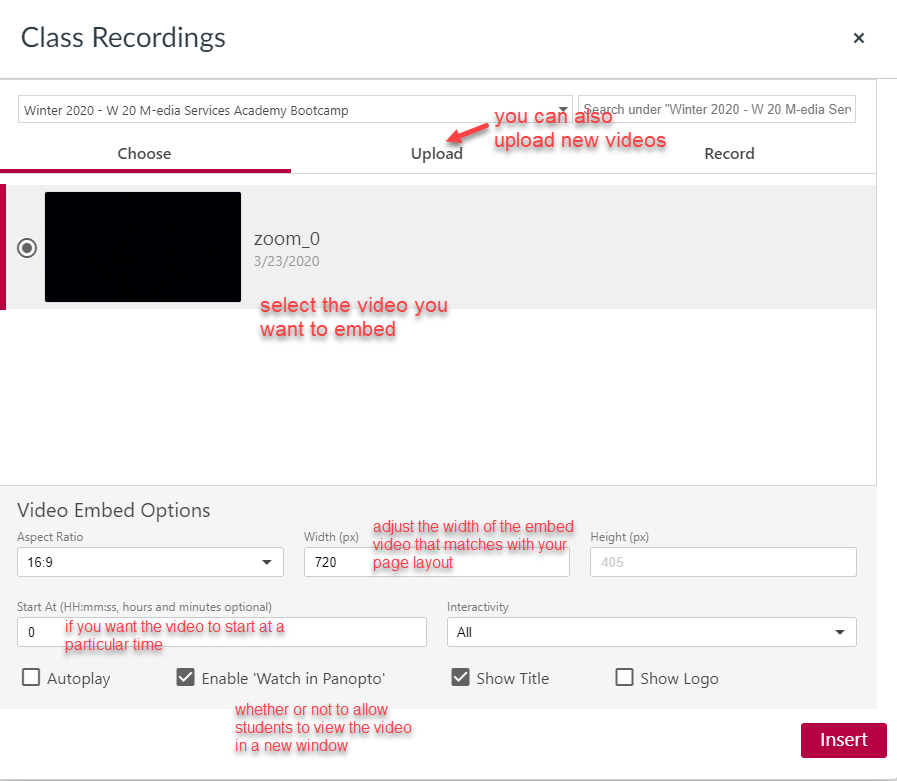
A smaller browser window will pop up, showing you the list of videos available to embed. Once a video is selected, you can make additional adjustments to the embed video such as the width of the embed video, or whether to show the video title.
Click the Insert button when you are ready.
The video is now embedded to your page. Please remember to click the Save button to commit to the change.