Clearpass OnGuard FAQ
The Information Security Office has compiled a list of frequently asked questions to help users with OnGuard.
If you have any questions or further issues, please contact the Technology Help Desk for further assistance. Linux users, please contact the Information Security Office.
How do I check if my software and operating system are up-to-date before coming to campus?
You can find some steps to take on this page:
Does the OnGuard shield only work when I'm on eduroam?
Yes - OnGuard will only update to healthy or unhealthy when you are on eduroam on-campus.
How will I be able to fix my OnGuard issue if I lose access?
OnGuard will alert you to your issue and will provide a grace period to maintain internet access to update your AV software and operating system. If the grace period expires, you will need to contact the Technology Help Desk for further assistance.
Does SCU offer free anti-virus/anti-malware software?
Yes! Currently, the University provides SentinelOne Core for free for student, faculty and staff personal computers. You can find more information here.
Does SCU-Guest require OnGuard?
SCU-Guest DOES NOT require OnGuard.
Does OnGuard affect my SCU VPN access?
OnGuard is only required on your home computer if you will be using it on eduroam on campus. VPN is a separate service and does not require OnGuard.
I don't have administrative rights on my university-owned computer to install OnGuard.
- The name of the individual who needs administrative rights
- The Computer Name or Asset/PC Replacement Tag
- Identify if this is a Mac or Windows computer
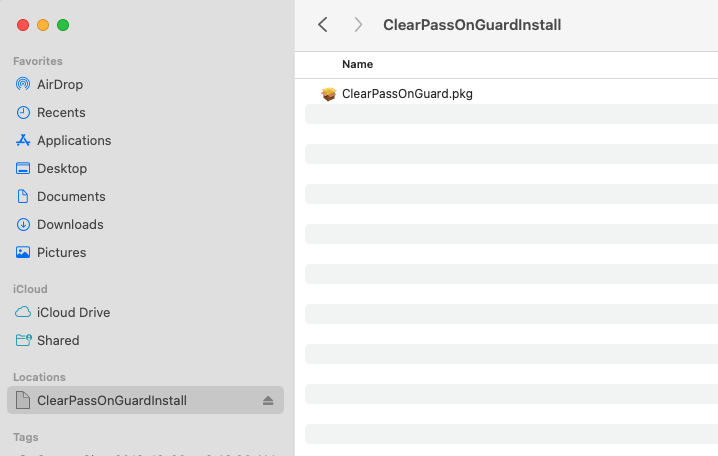
Nothing happens when I click the installer on my Apple computer.
Note #1 for Monterey 12.15 Users: After double-clicking the DMG file, you will need to open Finder and find the DMG listed as a drive under Locations like a USB drive may look. You will need to double-click that Location to then double-click the PKG file to proceed with installation.
I'm connected to eduroam. I can reach internet sites, but I get "page not found" when trying to download OnGuard?
Please check your DNS settings to make sure you are getting campus DNS servers. DNS (domain name service) is a network protocol that allows your computer to turn website names into IP addresses. Internet DNS servers like Google's (8.8.8.8) do not know what campus-only websites and resources are.
macOS
- Open System Preferences, either from the Menu Dock or the Apple menu > System Preferences.
- Click Show All.
- Click Network
- In the left-hand pane, choose the wireless network connection.
- Select the Advanced button and the DNS tab.
- The DNS servers listed should be greyed out (that means they were auto-populated). If there are DNS servers in black font, these are manually added. Often times it's Google's DNS server (8.8.8.8). Please use the minus ( - ) button to remove the black font servers.
Note: If the lock in the lower-left corner of the window is closed, you must click it and enter your Mac OS X administrator password before you can make changes to settings.
Windows
- Click the Windows button and type "network status." Hit Enter.
- Select "Change adapter options."
- Right-click on your wireless adapter (often labeled as "Wi-Fi") and select Properties.
- Select Internet Protocol Version 4 (TCP/IPv4) and click Properties
- Make sure that both Obtain an IP address automatically and Obtain DNS server address automatically are selected. Click OK.
How do I find my wireless MAC address?
Your MAC address (sometimes called "physical address") is a unique network identifier for your computer.
Mac
- Click the Apple icon in the top-left corner of your screen and select System Preferences.
- Click Network.
- Select the network you would like to view the MAC address for (in this case WiFi).
- Click Advanced towards the bottom right of the window.
- On the WiFi tab, the Wi-Fi MAC Address is listed towards the bottom of the window.
Windows
- Click the Wireless icon in the bottom-right of your screen.
- Find the network you are connected to (eduroam) and select Properties.
- Scroll down to the bottom of the page that opened and find the last value Physical address (MAC).