Automatic Zoom Class Recordings
When you use the Zoom Pro tab in Camino to record a Zoom meeting, the recording will automatically appear in your Class Recordings area in Camino.
Once set up correctly, students can view any Zoom Pro session you record in your course’s Class Recordings, including pre-recorded lectures that you create.
Enable Zoom Pro and Class Recordings in Camino
Make sure that Zoom Pro and Class Recordings are both enabled for your Camino course for this integration to work.
Navigate to your Camino course. Go to Settings > Navigation and locate both Zoom Pro and Class Recordings in the list of menu items.
Click and drag each one to the list of enabled items.
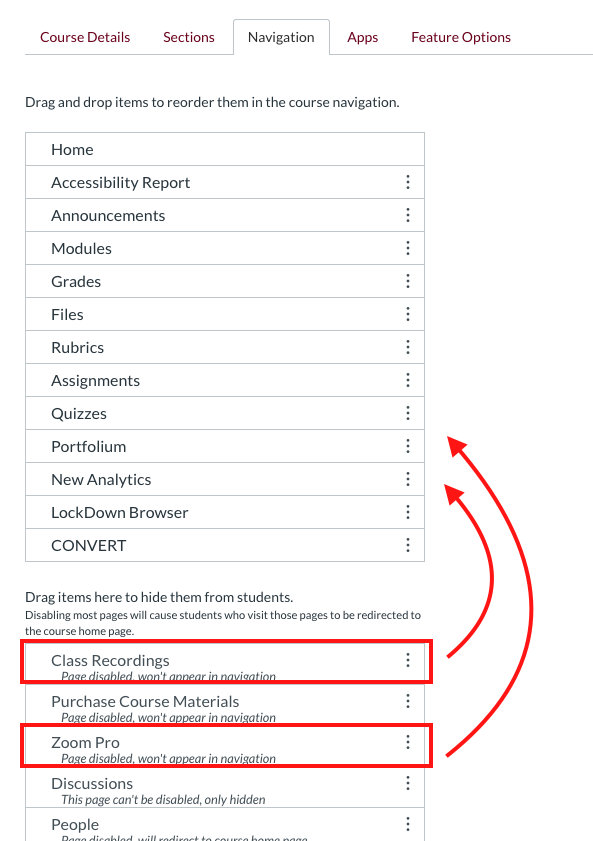
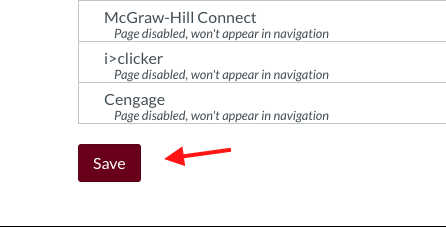
Click Save at the bottom of the page.
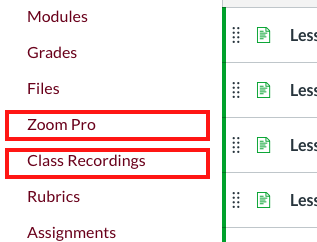
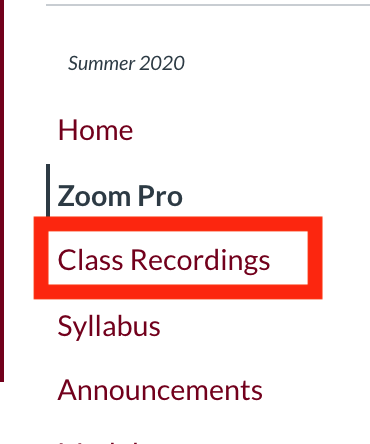
When enabled, Zoom Pro and Class Recordings will appear in the left hand course navigation menu.
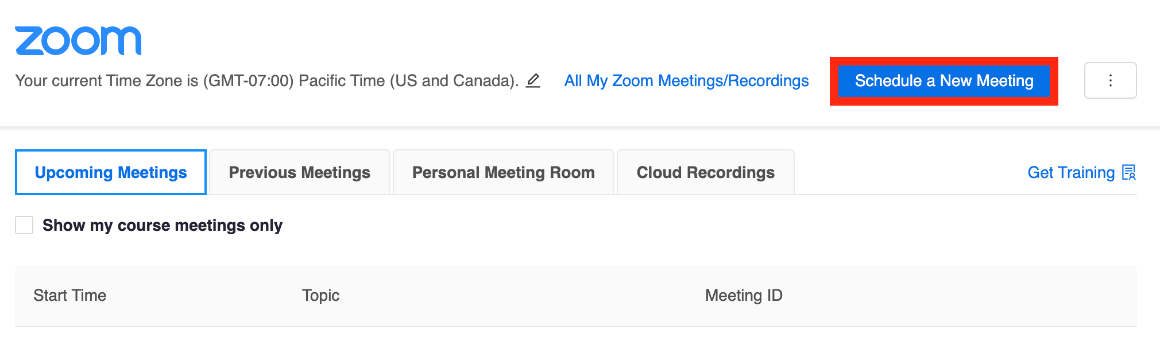
1. Schedule the Zoom Session
Click on “Schedule a New Meeting” to create new Zoom sessions for upcoming classes, or you can schedule a new session with yourself as the sole participant if you would like to pre-record videos for your class.
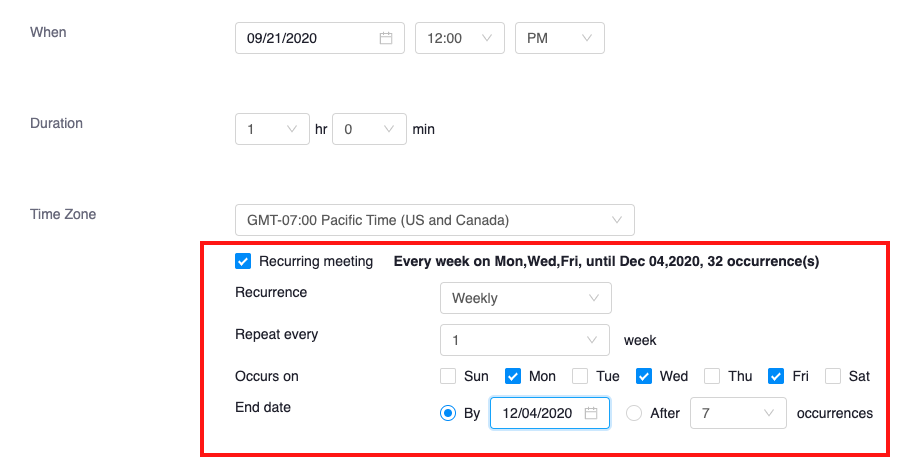
Recurring class sessions: Set the date and time of your first session. Check Recurring, select Weekly, and select the days of the week it will meet, and enter an end date.
Pre-recorded videos: Leave the session date as is. You can start the session after you save this meeting.
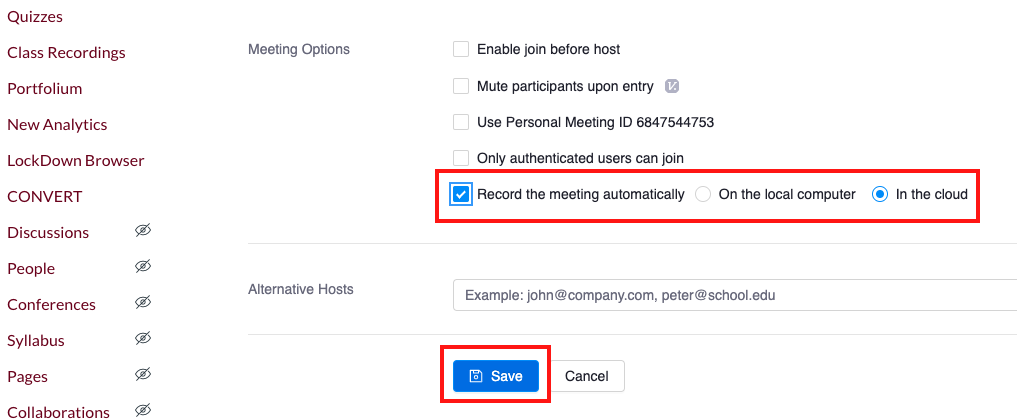
Save your meeting after you have set the date, time, and “automatically record to the cloud” if you want the meeting to record as soon as you start the meeting.
2. Start the Zoom Session
When you are ready, start the Zoom session by clicking the start button. Zoom will launch from your computer in a new window.
Record the Zoom Session
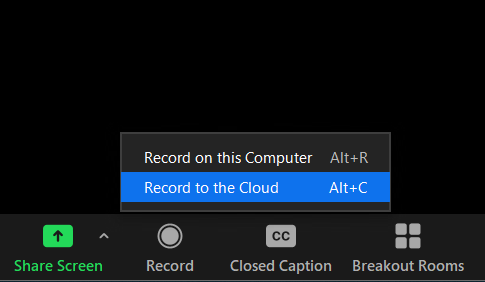
Once the session has started, it will automatically begin recording if you selected that option when scheduling the meeting. If not, click the Record button at the bottom of your Zoom window. When you click record, choose “Record to the cloud.”
You can tell that it is recording by looking for a cloud shape in the upper left or right corner of the window, depending on which device you are using.
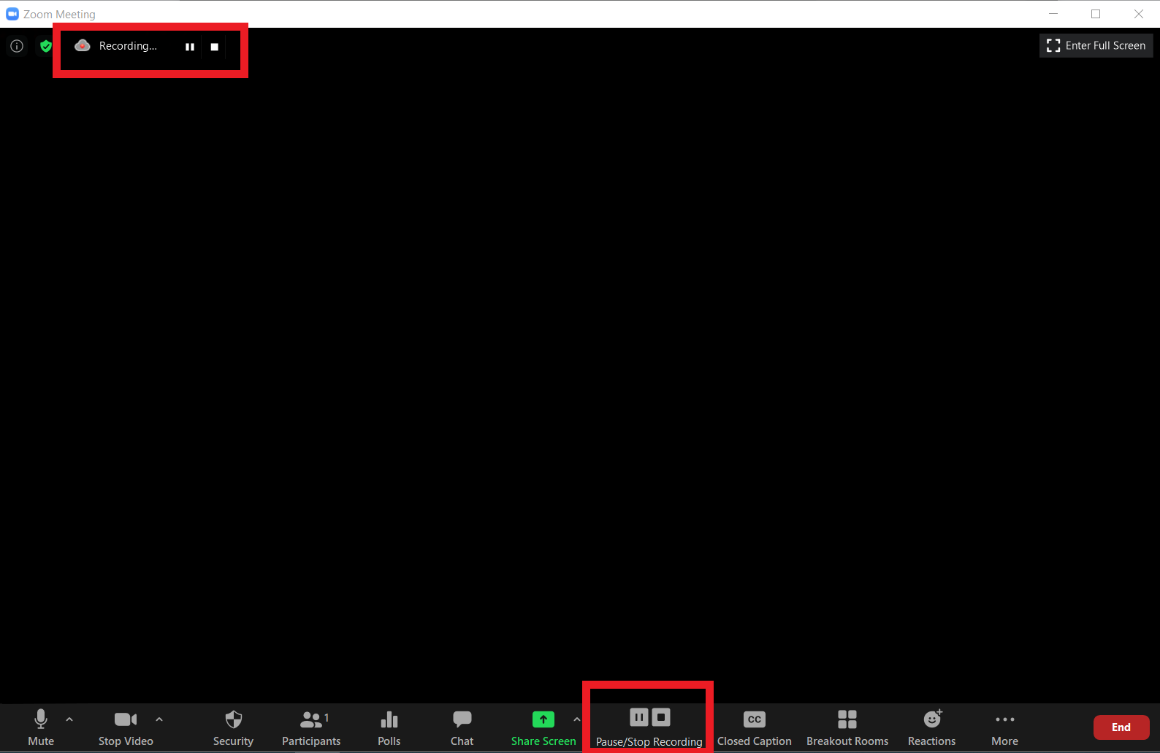
You can pause the recording as needed. The recording will end automatically when the meeting ends. Once you end the Zoom session, the recording will take time to process and upload to Class Recordings. This process can take several hours to complete. No further action is required at this point.
View and Share Your Class Recordings with Students
You can view all of your recorded classes and other uploaded videos by clicking on the Class Recordings tab in Camino. Students can also access your recordings via this area.
Link to Class Recordings in a Camino Module
If you want to link to an individual recording, you can add it to a module. This is a good way to organize your recordings by week, topic, or due date.
1. Go to the Modules page of your Camino course.
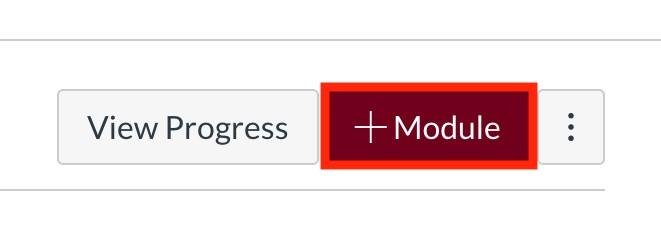
Find the module where you want to add your recording. If you have no modules, click + Module to add one.
2. Add a new item to the Module where you want the video to appear.
Click + next to the Module title.

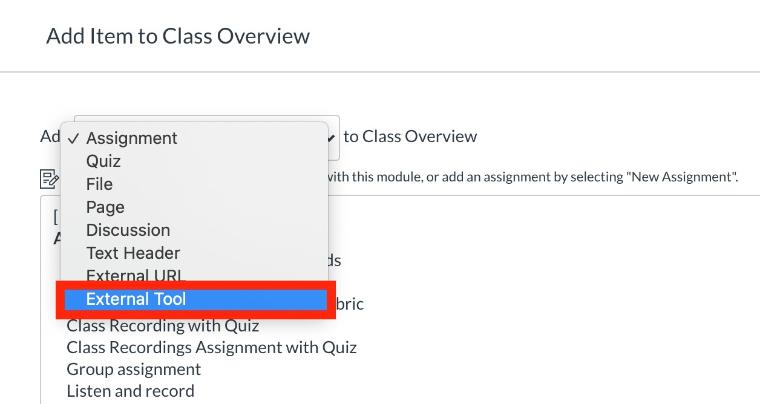
3. Choose external tool as the item type.
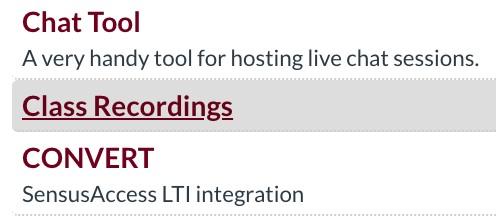
4. Select Class Recordings
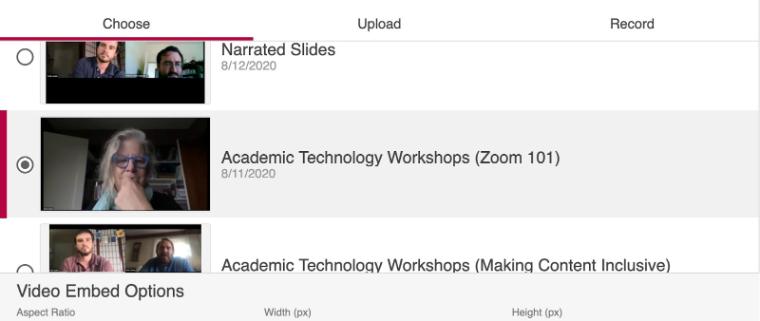
From the resulting list of tools, scroll down until you see Class Recordings and click on it.
A pop-up with thumbnails of all your videos will appear. Click the recording you wish to add.
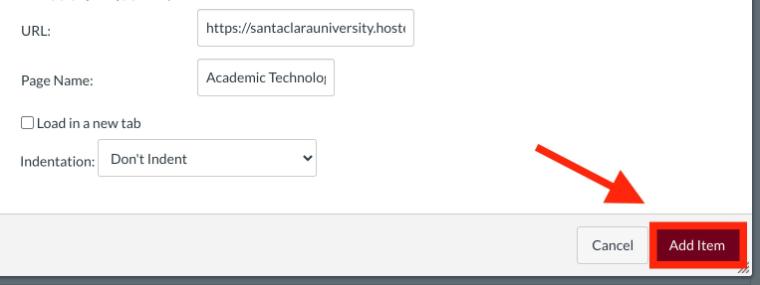
5. Click Insert > Add item to add the video to your module.
In the Class Recordings window, click the Insert button at the lower right hand corner. Then click Add Item to add the link to the recording in your module.
Publish the video link by clicking on the publish button. It will toggle to show a green checkmark. Now students can watch the video by clicking on the link in the module. If students report that they cannot view the video, have them click on the Class Recordings tab and then go back to this linked content.

Advanced Options
Class Recordings has many additional features. You can edit your recordings by trimming them, decide how and when recordings will be shared with students, and add extra features such as quizzes and captioning. Some useful features include:
- Controlling when students have access to the video.
- Making edits to the video before releasing it to students.
- Adding automatic captions to the video. Be sure to edit these for clarity.
- Moving videos between classes.
- Allowing students to comment on the video.
- Attaching the video to a Camino assignment as a quiz or required viewing.
Please contact Media Services or Camino Support with questions or for further training opportunities.
Contact MediaServices@scu.edu [408-554-4520] for assistance using Zoom.
Contact CaminoSupport@scu.edu [408-551-3572] for assistance using Class Recordings in your Camino course.