Images
Working with images
Images are stored in T4's Media Library, and organized by category. You will have access to at least one category for images that belong to your group, and you can also access and add to the images stored in the Public category. When uploading an image, you'll select a destination for it, usually that will be your organization's main category or an images folder within.
You can upload and select an image to display in a page in one step; use the "save and select" option for that. But you might want to upload the image first and then go back to select it. Why the extra step? Here are couple of reasons.
Image Variants
When you upload an image, T4 will generate four new images of varying sizes, full width (spans the full width of the page), Two Column (spans the main content area), One Column (sized to fit in the main left, main right, and sidebar columns), and HTML Email (spans the full width of an HTML Email). Depending on where the image is to be displayed, selecting from the variants will allow you to select an image that's optimized for that space.
Image Insets, Left and Right

Another option available when selecting an image is a custom layout. When selecting an image variant from the Media Library, instead of clicking the image title or thumbnail to select it, click the blue Actions button and choose "Select with layout". From there, "image/inset-left", or "image/inset-right" option, which will wrap the image in the HTML5 .figuretag. .
For the inset-left and inset-right options, it's recommended to select a Two Column image variant. In the desktop view, the image will actually only use one-third of the page, but in tablet views the image will be displayed in a larger size, so the Two Column variant is better suited to both sizes. There are also options to include these inset variations with captions, which we'll talk about next
Images with Captions
Other layout options for images include image/caption, image/inset-left-caption, and image-inset-right-caption. The caption text is selected from the image Description field in the Media Library. If the original image was not provided with a description, then variants of the image won't get one - even if you update the description at a later date. You can add a unique caption to the image by double-clicking the image and entering text in the Caption field of the Media Properties form.
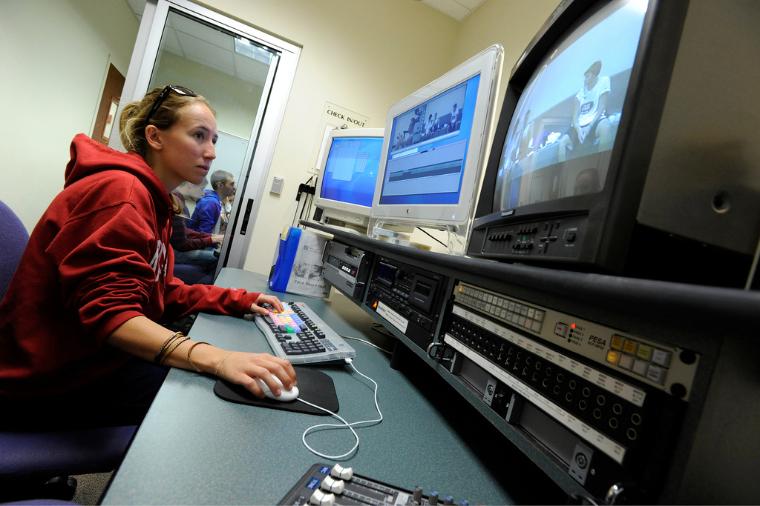
Santa Clara’s 2,200 square-foot television studio is among the best found on any university campus nationwide.
The Inset options with captions look like the image/inset-left and -right shown above, with the addition of the caption, which is derived from the image description in the Media Library.

The Dalai Lama visits SCU.
Responsive Images
Use the image/responsive layout for images that need to resize to fit within their containing region. Large images can cause display problems in tables, grids, or the smaller window widths in smartphones and tablets.
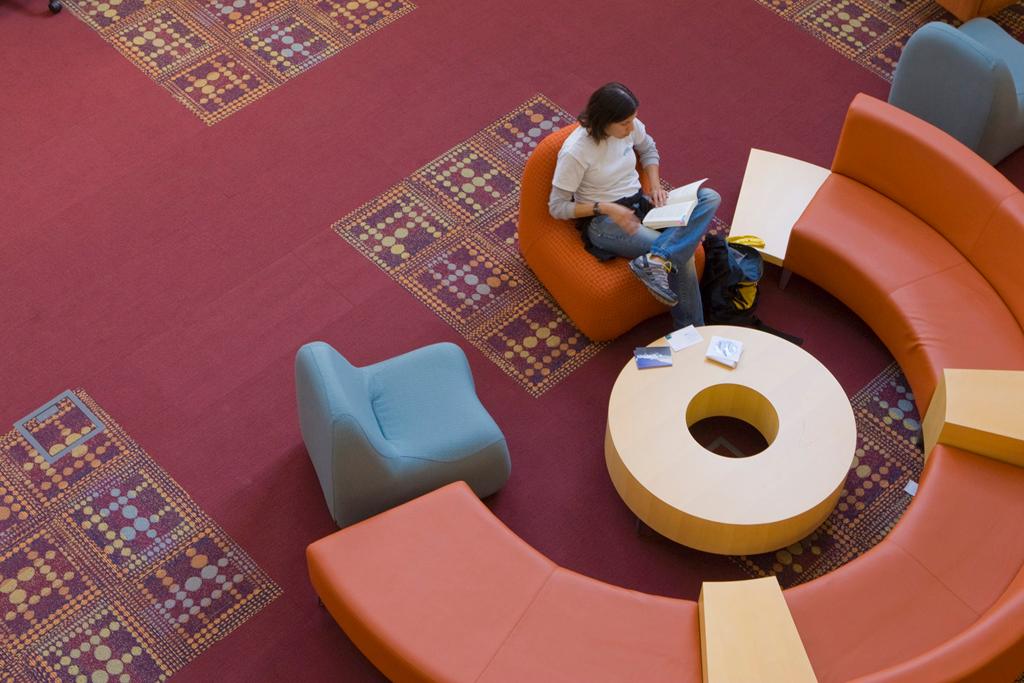
The following image is actually larger than the full width of the main content area, but with the image/responsive layout applied, it will resize to a maximum of 100% of the containing area, and will continue to adjust size as the window width is reduced.
More positioning options - Pull-left and Pull-right
Two more options are available to position an image in text, and allow the text to wrap around the image. The "inset" options will always use a one-column width and applies a border style to the image. Your may need to display your image at a specified width, or it may be a smaller image that doesn't adapt well to the one-column width. In these cases, select the image/pull-left and image/pull-right options in the Select with layout menu and apply the style appropriate for your image.
Another custom layout option is available to center an image - choose an image from the Media Library and select the image/center option from the layout menu.
Adding Captions to positioned images
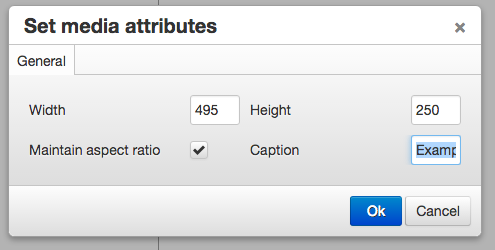
The image pull-left, pull-right, and center position layouts can include a custom caption. After adding the image to the text editor, double-click the image and enter your text in the (very small) Caption field in the Media Attributes form.
;
Adding Inline CSS Styles
To apply a custom inline css style choose an image from the Media Library and select the image/style option from the layout menu. Double click on the image and you may set the css in the custom css field. Please note that directly adding inline css sytles in the source code will be ignored by the editor.
