Campus Computers
SentinelOne is our cybersecurity (antivirus and ransomware) protection platform as of April 2023.
SentinelOne will be installed on all SCU-owned computers by Academic Technology.
Windows Computers
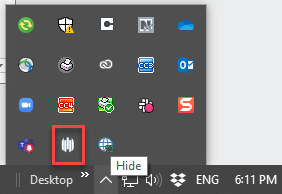
You can verify SentinelOne is running on your Windows computer by checking the Windows taskbar in the lower right corner.
Additional Steps
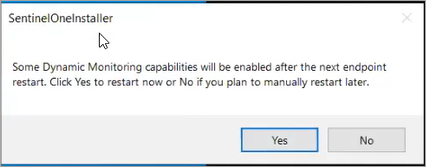
Once the SentinelOne agent is installed, your computer is protected from malware threats. However, a reboot is usually needed to activate all of SentinelOne's scanning abilities. If you see the message / notification from SentinelOne, you should restart your computer when possible.
macOS Computers
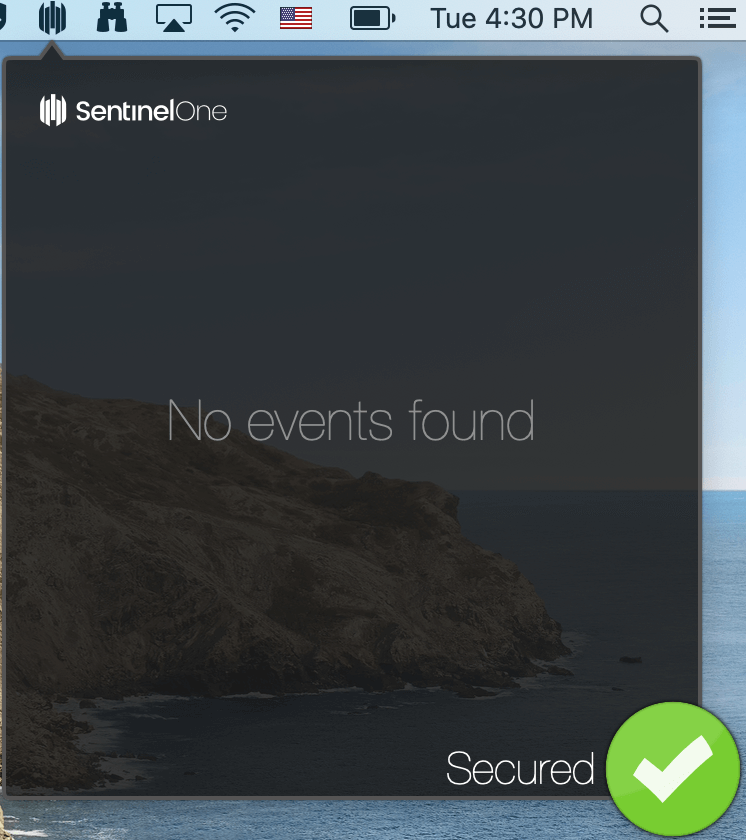
You can verify SentinelOne is running on your macOS computer by checking the macOS Command Center / notification area in the upper right corner.
Additional Steps
Authorizing Full Disk Access
- Authorizing Full Disk Access - macOS Big Sur and Monterey (YouTube)
- Authorizing Full Disk Access - macOS Ventura (YouTube)
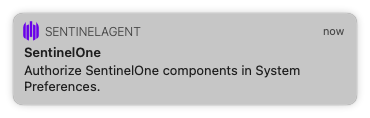
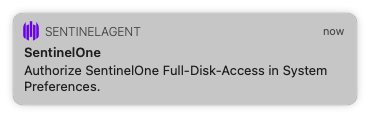
If the SentinelOne icon shows "Needs user attention" or these messages "Authorize Full-Disk-Access to SentinelOne in System Preferences", "Authorize SentinelOne components in System Preferences". Approve Full Disk Access for SentinelOne Apps in the System Settings.
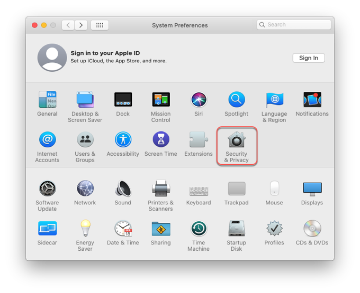
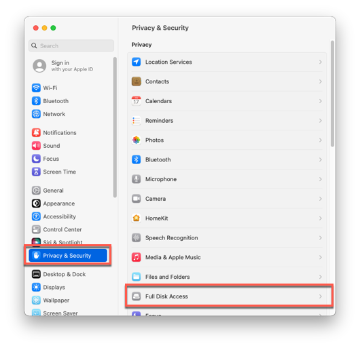
1. Open System Preferences (Big Sur or Monterey) or System Settings (Ventura). Open Security & Privacy (Big Sur or Monterey) or Privacy & Security (Ventura).
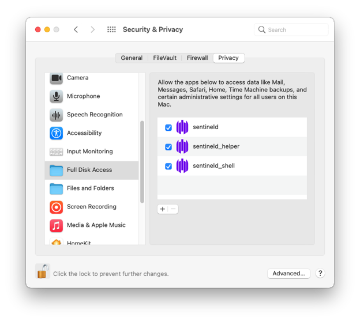
2. In Big Sur or Monterey, click the Privacy tab in the Security & Privacy window. Skip to step 3 if you are using Ventura.
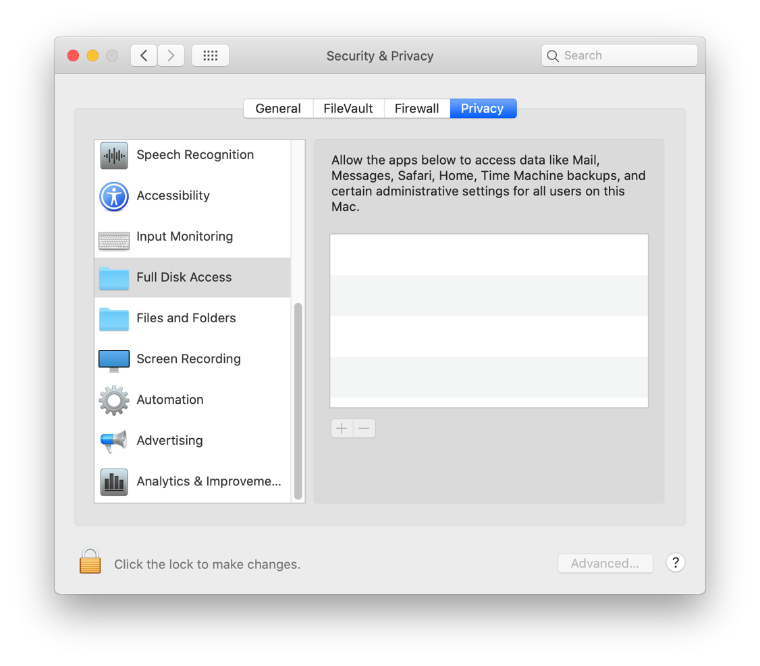
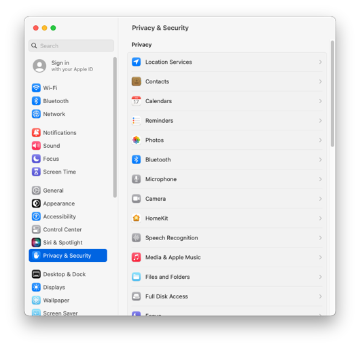
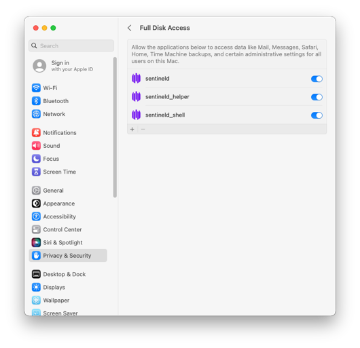
3. For Big Sur and Monterey, select Full Disk Access on the left-hand side. For Ventura, select Full Disk Access on the right-hand side.
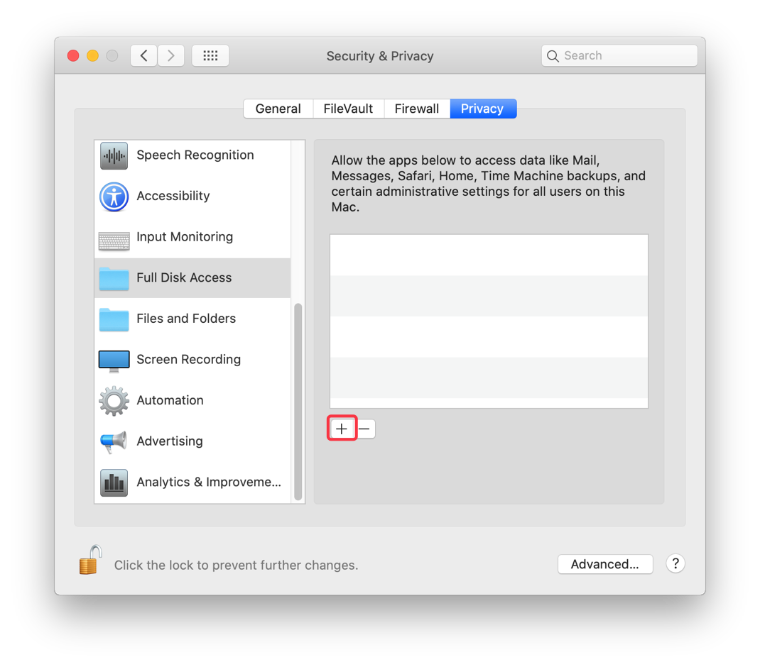
4. Click the + button.
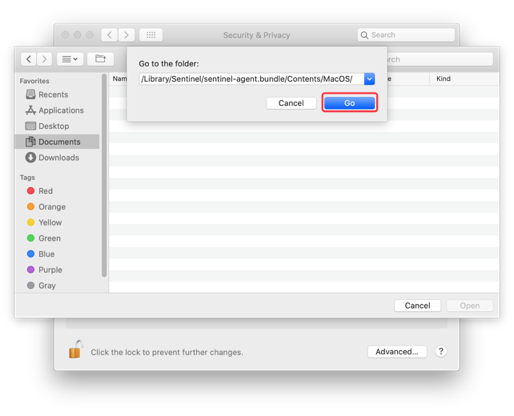
5. Press and hold Command+Shift+G at the same time to open the Go to the folder prompt.
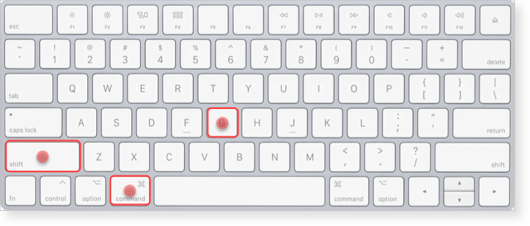
6. Enter in the following path in the Go to the folder prompt.
/Library/Sentinel/sentinel-agent.bundle/Contents/MacOS/
7. Click Go.
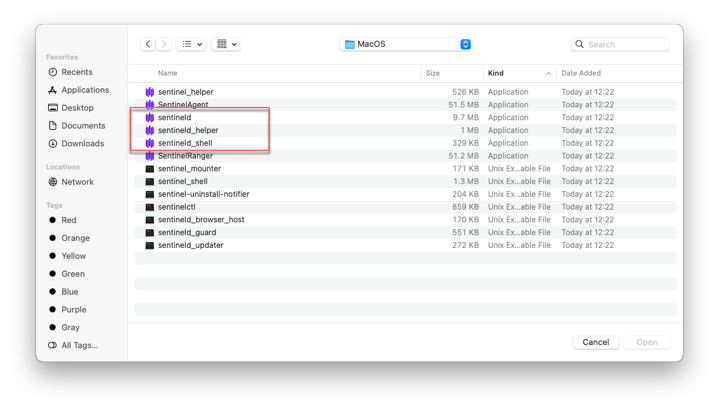
8. Select the following SentinelOne applications and click Open (hold the Command key to select multiple files at once).
- sentineld
- sentineld_helper
- sentineld_shell
Approve Network Extension
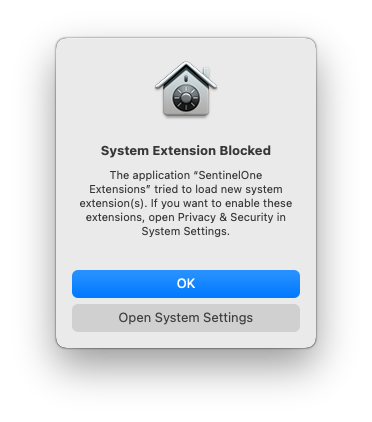
1. If you see the System Extension Blocked message, click Open System Settings. (If you accidently click OK instead, the window closes. To approve the extension later, open System Preferences (or System Settings on Ventura) > Privacy & Security > General (Big Sur and Monterey) or Security (Ventura).
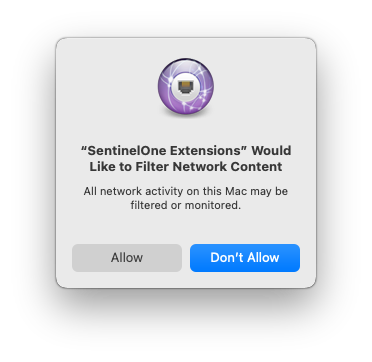
2. At System software from application "SentinelOne Extensions" was blocked from loading, click Allow.

3. In the window that opens, click Allow.