Record Zoom using Classroom Computers
This instruction is designed for instructors who are hosting a virtual Zoom class from a classroom on campus.
BEFORE THE QUARTER STARTS
It is recommended that you review the following instructions to schedule your Zoom lecture sessions within the Camino course site.
- Schedule your class meetings using the Zoom Pro tab on Camino
- Record your class meeting directly to your Camino course site
We recommend using the Google Chrome browser to make this documentation. However, other browsers may also work.
START UP THE CLASSROOM SYSTEM
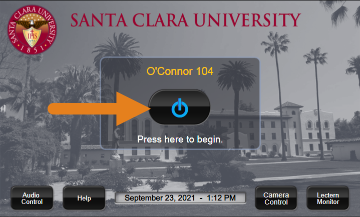
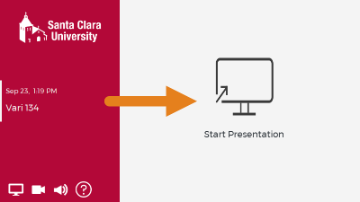
- The AV Control Panel is usually located on the equipment rack or on the wall near the instructor station.
Press the ICON at the center of the control panel to start up the projection system.
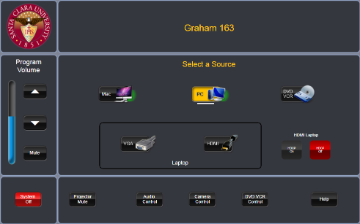
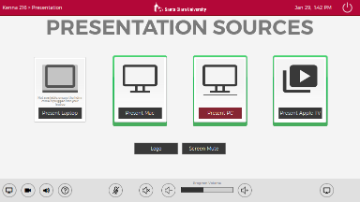
- Select your desired computer source, either in room PC / MAC (if available) or LAPTOP.
If selecting in room computer, you may need to move the mouse or press on a few keys on the keyboard to wake up the computer.
Follow on screen direction to sign in using your university credential
(Guest log in information is posted on the instruction in each classroom instructor station)
ADDITIONAL CLASSROOM FEATURES
If your classroom has dual monitors or a Wacom tablet display, we also recommend checking out the quick tutorial on how to use them with your Zoom sessions.
The dual-monitor display feature allows the video layout and screen share content to be placed on two separate monitors/screens. Gallery or speaker view can be displayed on one monitor while the other monitor displays a content share. This is useful for PowerPoint presentations and hiding notes from the participants. Please note that Mac users cannot see notes in Presenter view and their participants at the same time. This is limitation of PowerPoint for Mac.
Wacom displays are interactive screens that allow you to write with a pen and annotate your content. The video below explains how to use the annotation features with the display in a Zoom call. Wacom displays are installed in Lucas and a number of other classrooms on campus.
ACCESS YOUR ZOOM MEETINGS WITHIN YOUR CAMINO SITE
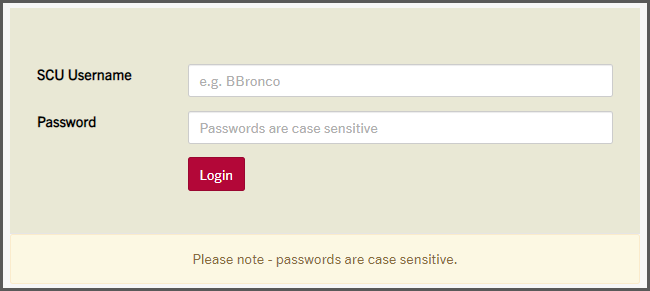
- Open your preferred web browser and log on to https://scu.edu/login. Log in using your SCU credential.
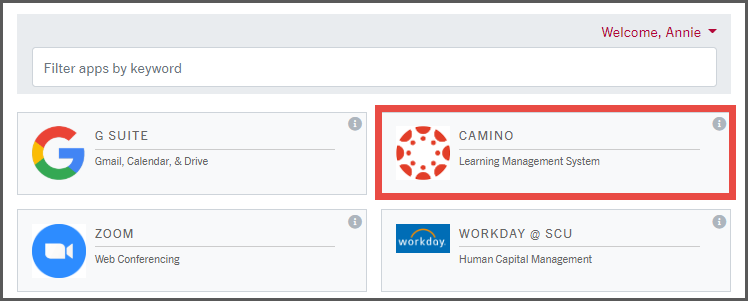
- Click the CAMINO tile.
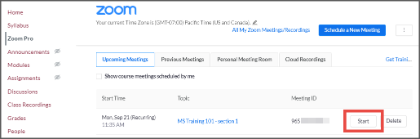
- Locate your desired Camino course, then click the Zoom Pro tab.
NOTE: If you need assistance setting up the Zoom Pro tab in your Camino course, please follow this instruction.
- Click Start to begin your meeting
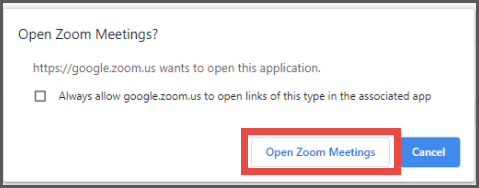
- When system dialog prompts, click Open Zoom Meetings to open Zoom desktop client.
SET UP AUDIO & VIDEO ON ZOOM
- Locate the USB cable labeled "Room Camera & Mic" and plug the cable into the designated USB port on the podium.
(you may also plug it into your laptop instead if you are hosting the zoom meeting from your laptop)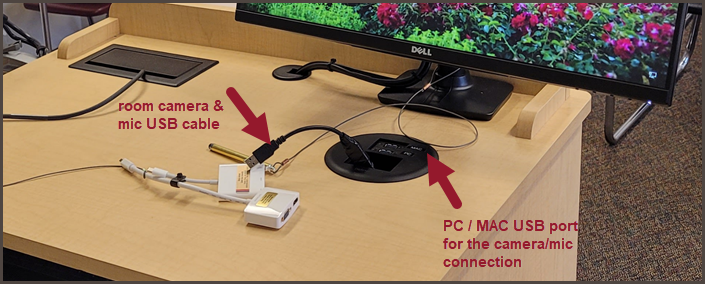
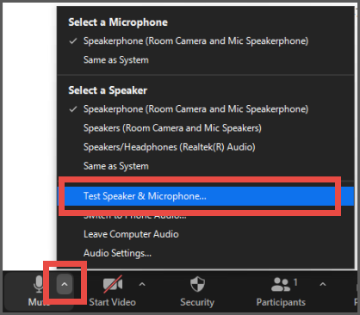
- Click the arrow next to the microphone icon, then select Test Speaker & Microphone. Zoom will then guide you through testing your microphone and speaker to make sure it is working. The choice may be different depending on which classroom you are in. If you need assistance, please contact Media Services.
- Click the Start Video icon if you don't see your video right away. Click on the arrow next to the video icon to select a Camera.
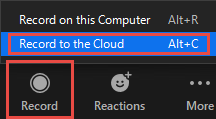
- Whenever you are ready, click the Record button and select Record to the Cloud. If you scheduled the meeting using Camino course site's Zoom Pro tab, the recording will automatically be made available under the Class Recording tab of that Camino course site. Find out more on how to set up a meeting using the Zoom Pro tab.
RECORDING TO THE CLOUD
- Make sure you are signed in to your Zoom account
- click Record > Record to the Cloud
- Zoom lecture recording will appear in your Panopto folder under My Folder > Meeting Recordings, or directly in your Camino Course site under Class Recordings if you scheduled the session using Zoom Pro.