Vertical Widget Formatting
Use the following code snippets to apply formatting to a LiveWhale widget.
By default, a widget created in the LiveWhale calendar CMS will have basic date, time, and event description text. To apply our site design's event list formatting you'll need to edit the widget settings in LiveWhale's widget form. The widget form allows you to make many customizations to the event content, such as the number of events, categories, tags, and other selection criteria. The changes described here won't effect the content of the events list, just the formatting.
Changing the format
We'll need to make three changes; hide the default display of the event date, add custom formatting for the date itself, and add custom formatting for the event display.
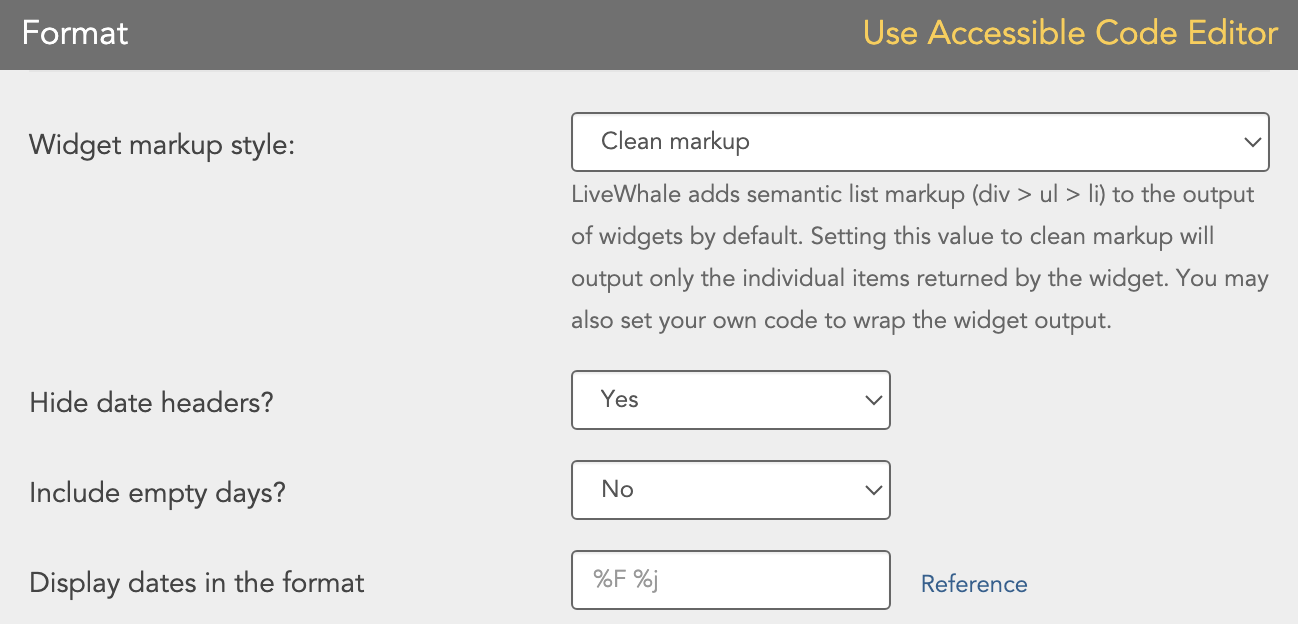
Hide the default event date display
We're including the event date in our custom formatting, so you can switch the default setting for "Hide date headers?" (under Format) from "no" to "yes".
Set the custom date format
Our widget formats the date as a calendar page icon, so copy the html text below and paste that into the "Display dates in the format" field. Otherwise, the default will be %F %j
<div class="events-month">%M</div> <div class="events-day">%j</div>
Set the custom event formatting
(1) Set the "Widget markup style" to "Clean markup."
(2) We need to apply formatting for the events. Copy and paste the following code into the "HTML format for each item in widget" text block under Format.
<div class="one-column events module">
 <ul class="media-list">
 <li class="media">
 <div class="media-left">
 <div class="events-date-page">
 {date}
 </div>
 </div>
 <div class="media-body">
 <h4 class="media-heading">{title}</h4>
 <p class="events-time-and-location">{start_time}, {location}</p>
 <p>{summary}</p>
 </div>
 </li>
 </ul>
</div>
